“Ring bologna and German potato salad”
This was the answer to a question posed by my good friend, Ann Yonkers, a fellow food compatriot and former director of Washington D.C.’s FRESHFARM markets. As a faithful reader of my blog – but someone I met after my early days in the business – she eventually became curious about my evolution in the kitchen. She knew I owned a restaurant and market, but was aware that my background did not include any formal chef training. “So…how did you get your start?”
It was almost four years ago that Ann asked this question. I have been mulling the answer around in my mind ever since and decided I would try to retrace my steps into the kitchen and give her an answer. And so I begin. After a deep breath, a healthy sip of wine and a long pause I begin… it all started with ring bologna and German potato salad.
Just thirteen, I was left at home with my grandpa to take care of the house and work my summer job. My older sister Joan was away at a Badger Girls State conference and my mom and dad and younger sister Karen were visiting relatives in Indiana, so I was left in charge with Grandpa Charlie. I felt so grown up!
That summer, my job was detassleing corn. For many of us in small Midwestern towns across America, the gritty and grueling position of corn detasseling was frequently a teenager’s first employment – in some sense, a rite of passage. It was a short season, paid well compared to other forms of employment and allowed workers to also hold nighttime jobs making it a sought-after position. Piling into the back of a truck with a ragtag bunch of other teens at five in the morning, making my way to the damp, wet cornfields in rural Janesville, Wisconsin, I daydreamed about what I would prepare for my grandpa’s evening meal. My mother’s parting advice echoed through my sleep-derived brain: “just make him a sandwich!”
But I wanted to do more than that and there was plenty of time to think about food and what I would prepare that night as I shuffled through the endless rows of corn, removing the pollen-producing tassels from each stalk that was – I was informed – a critical form of pollination control. I’m not sure I understood the reasons for the task at hand – nor do I to this day – but I was happy to have this particular money-making job that lasted for five years. I continued my ascent as a pollination control expert for all my pre-college years, eventually working my way up to “crew leader” and always dreaming of the many ways in which I would spend my first salary.
After considerable thought, I eventually I decided our first meal would be ring bologna. I loved its savory, spicy taste and it went well with my favorite condiment – ketchup. All I had to do to cook it was boil water. An easy choice!

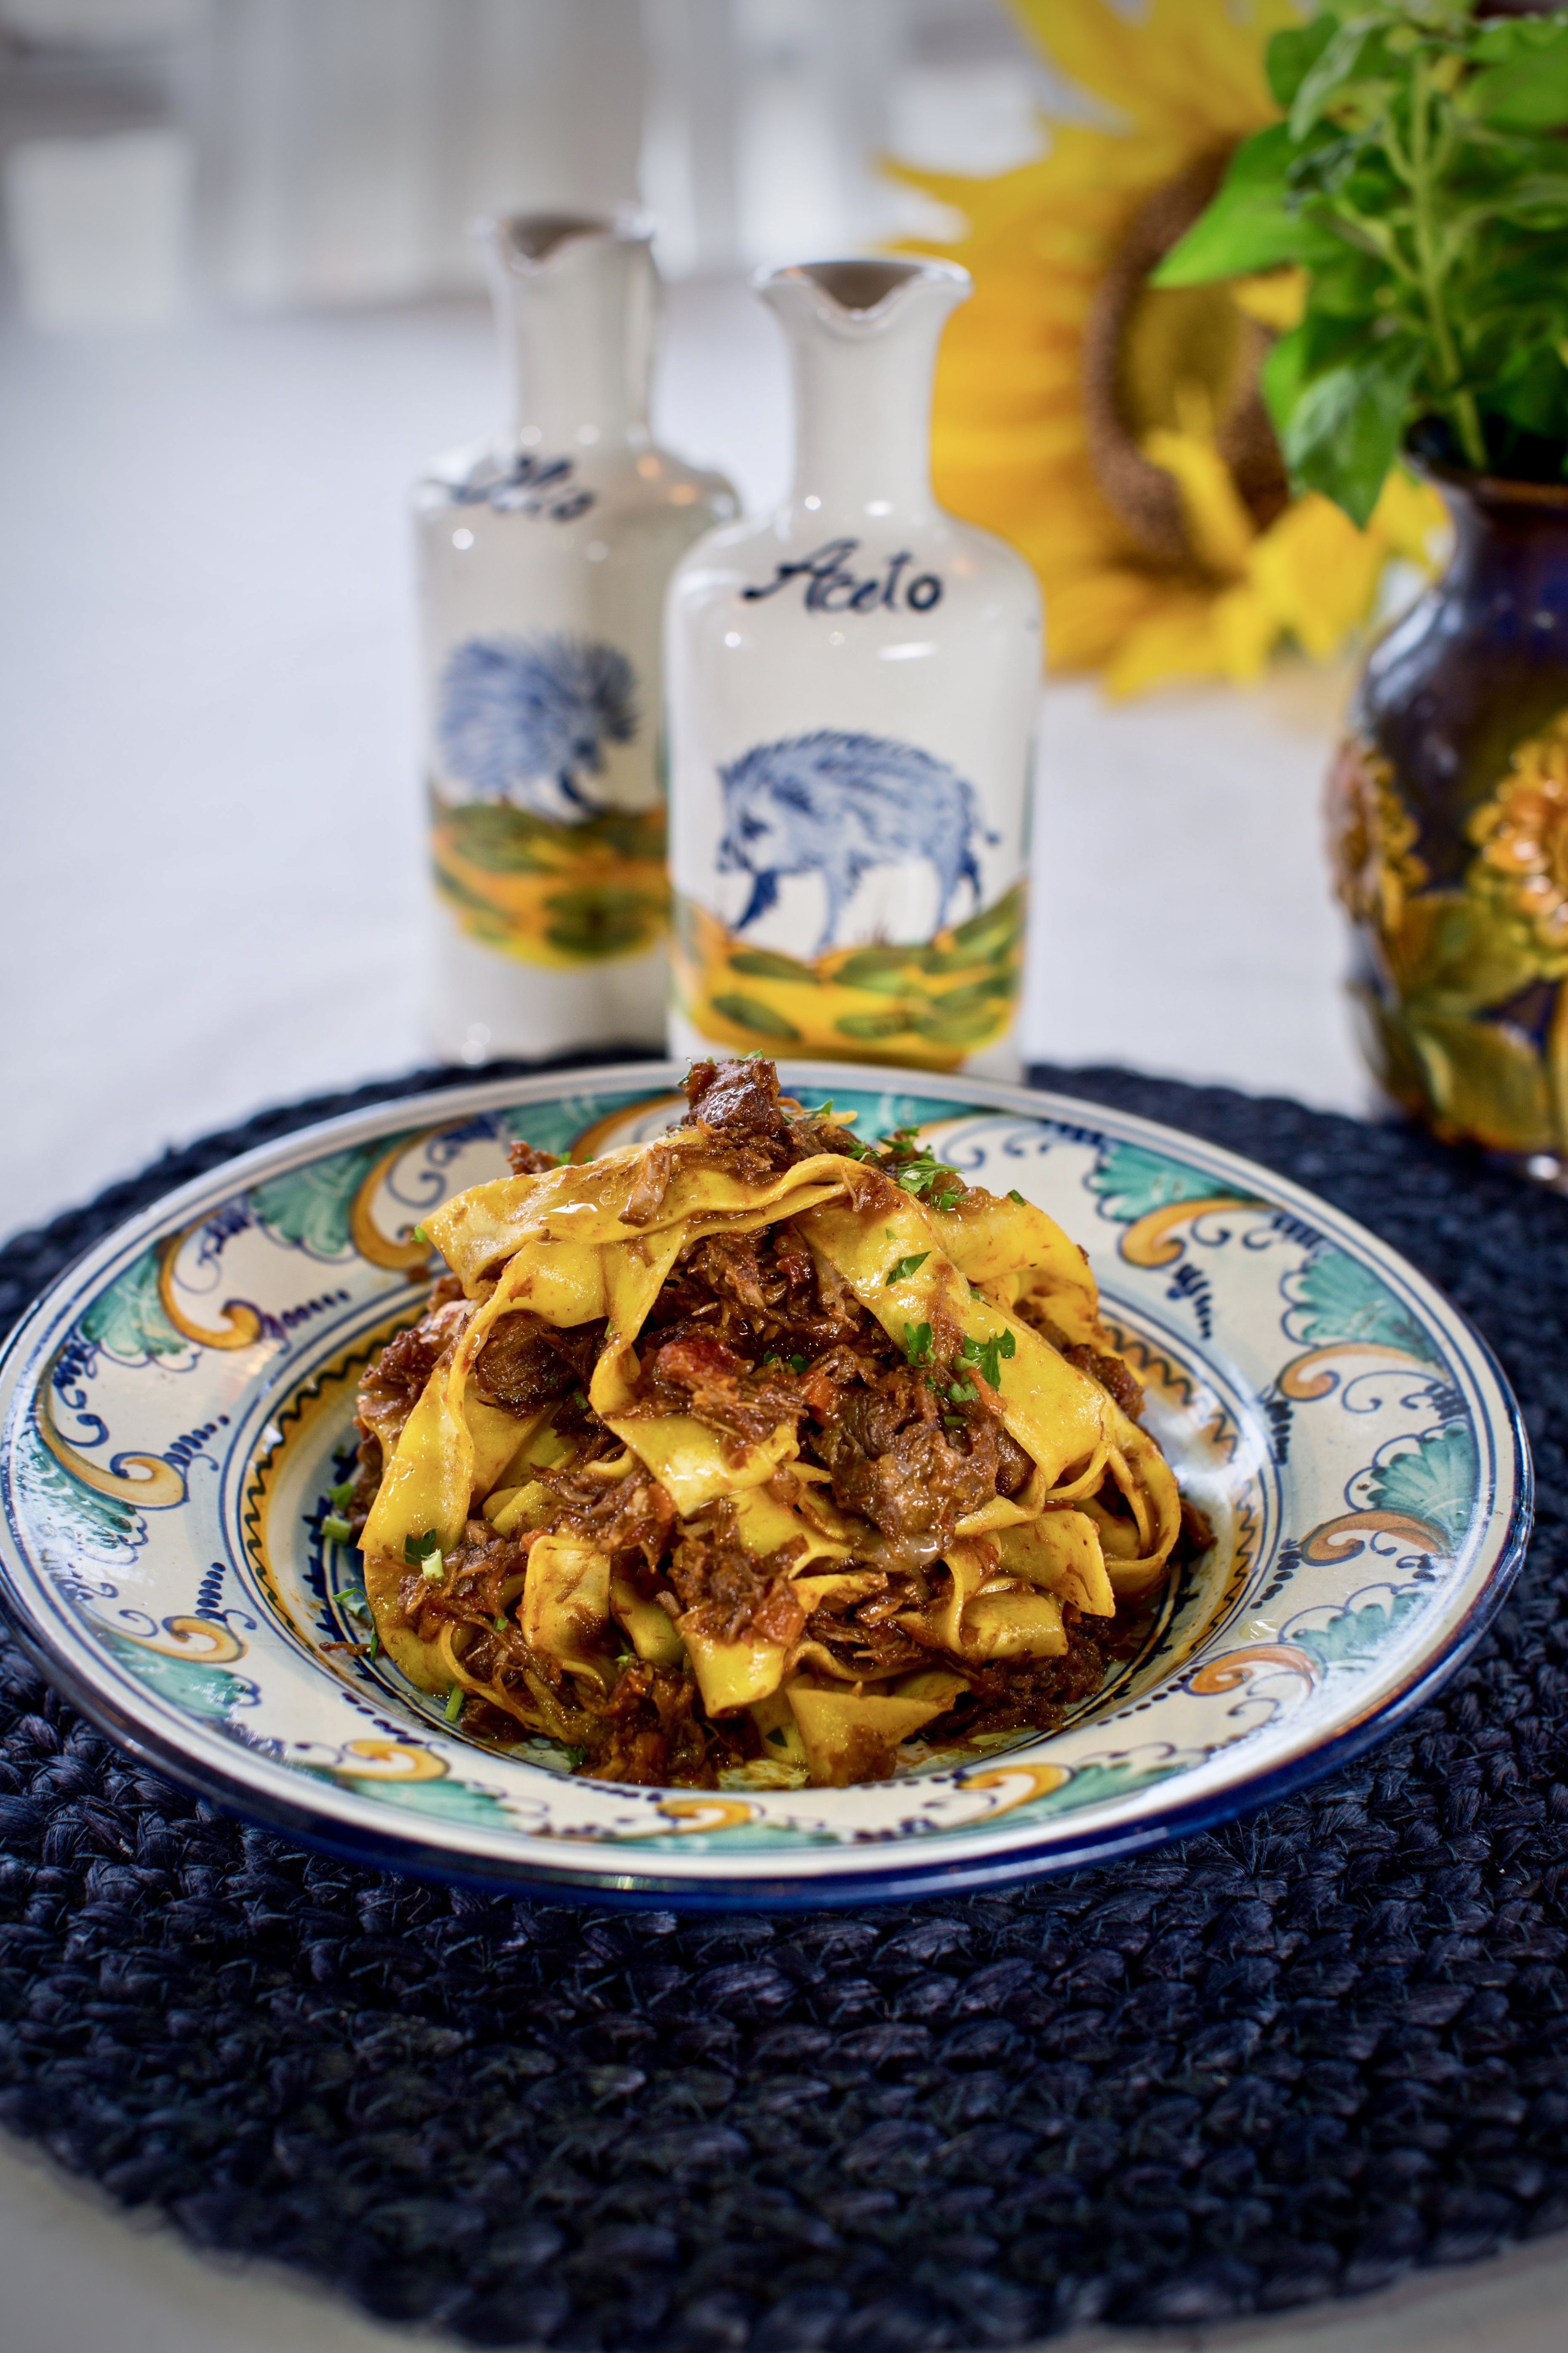
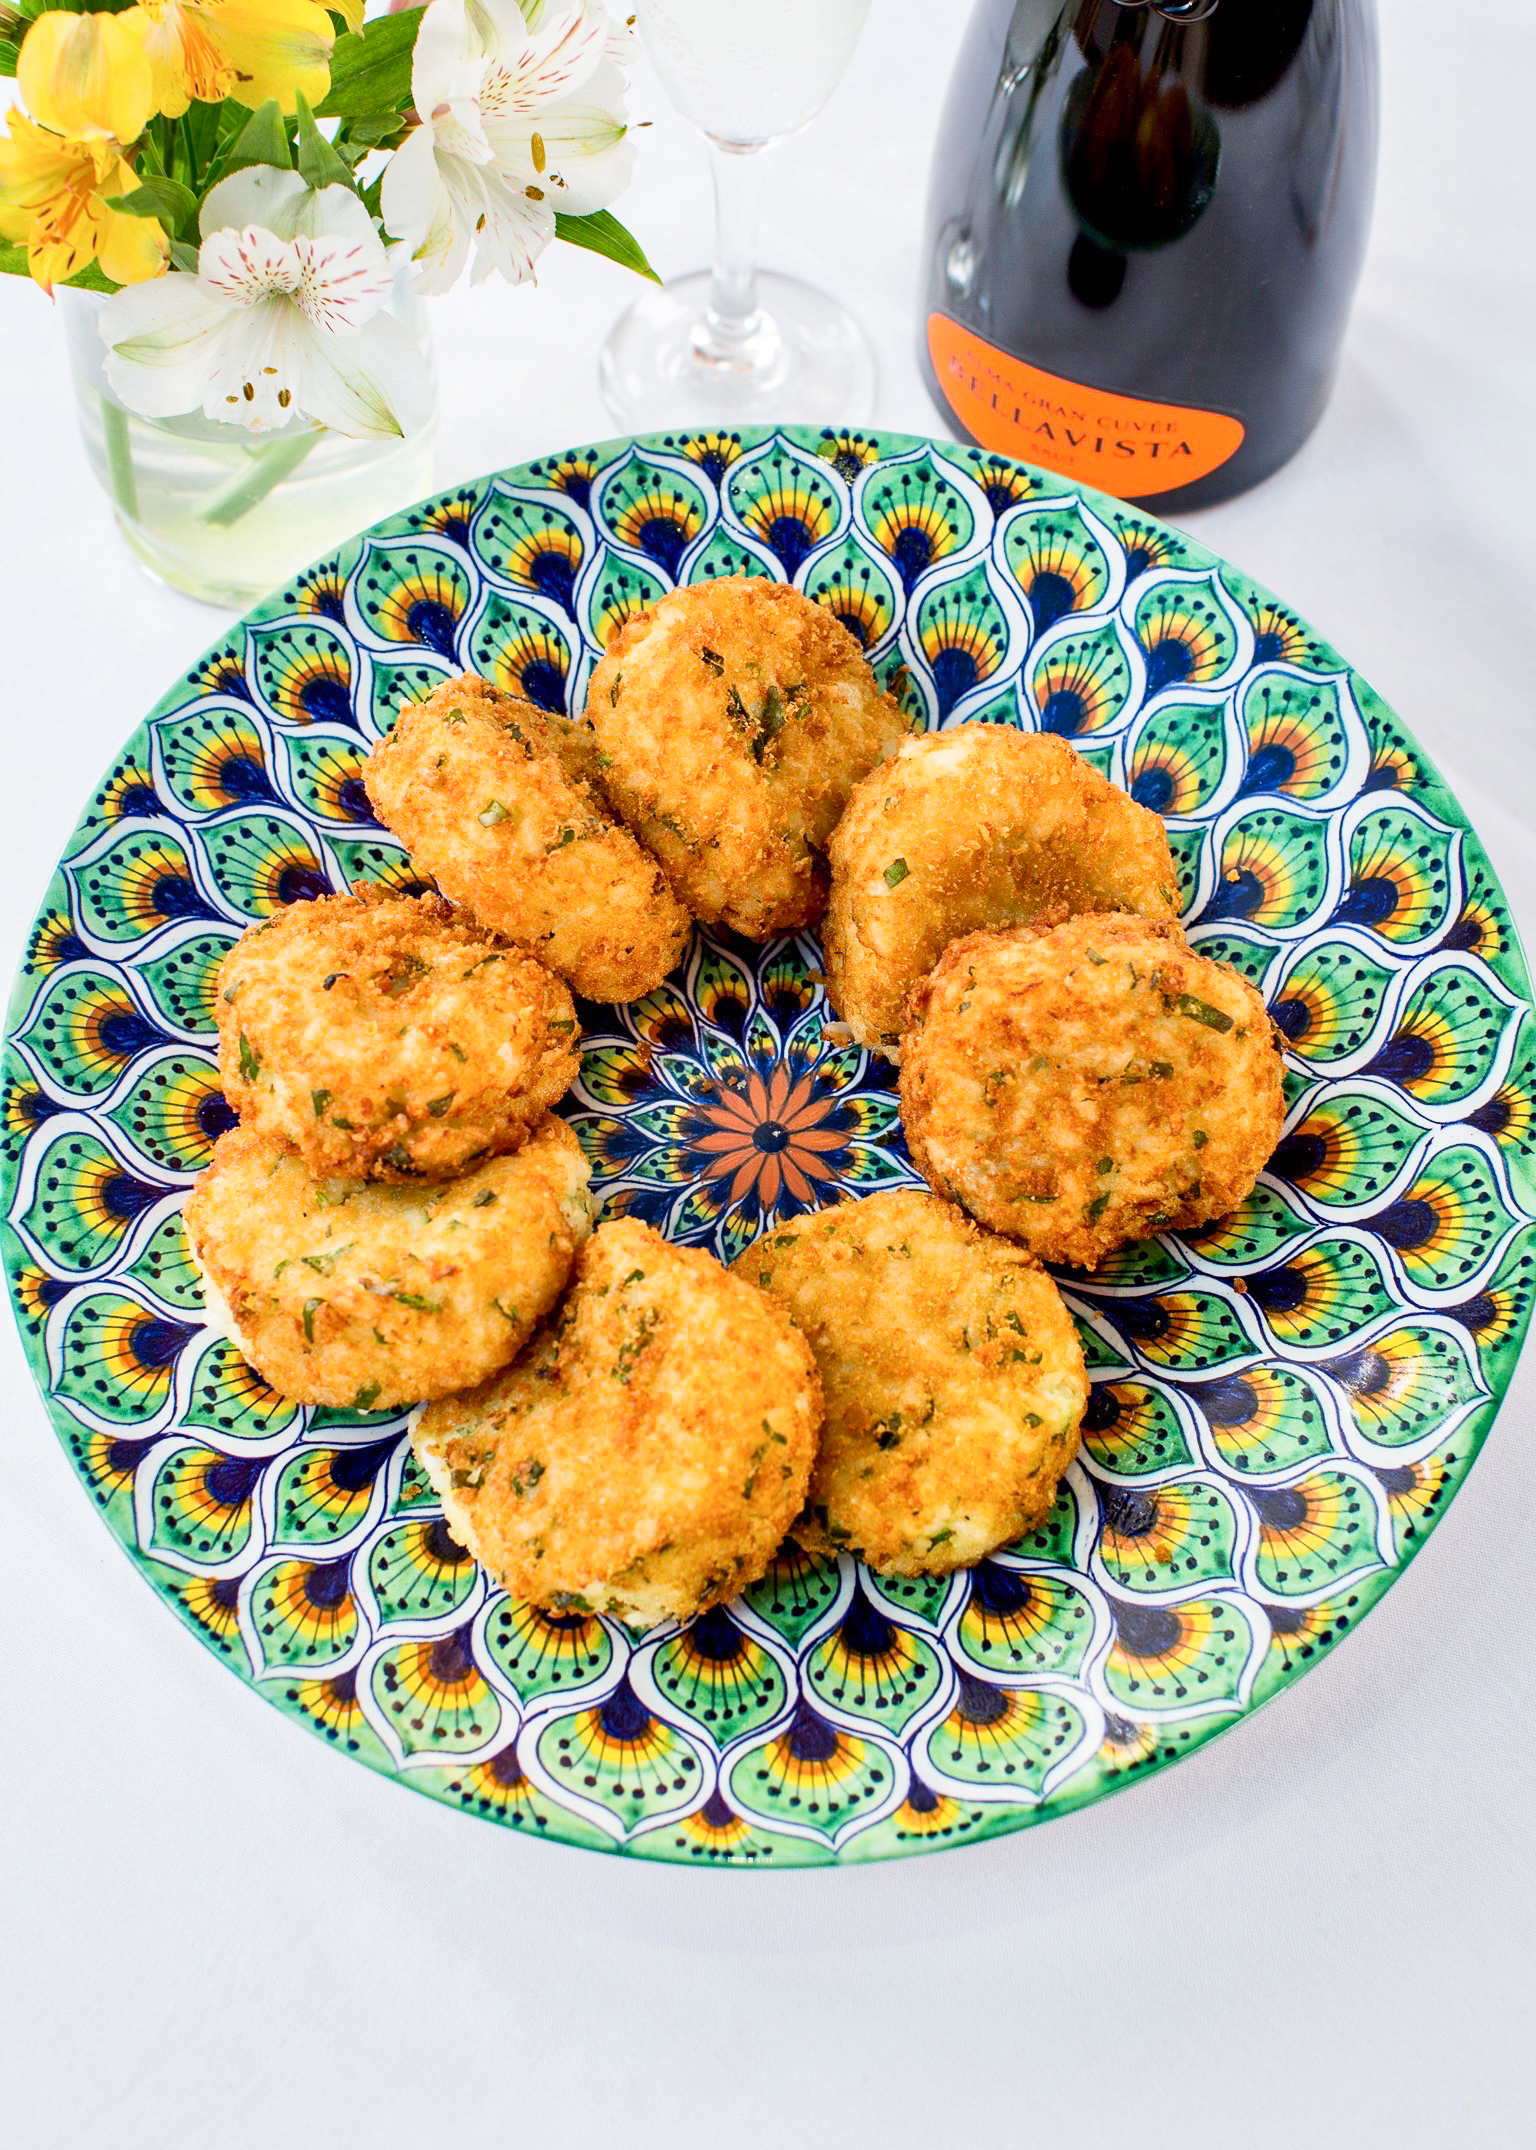
© rob warner photography 2019
Ring Balogna
(serves 1-4)Boil pot of water
Submerge ring bologna
Boil for 12 – 13 minutes
Drain
Serve
***************************************************
Deciding on the accompanying dish was more difficult. I had begun paging through my mother’s cookbooks several days before my family left, finally settling on a recipe for German potato salad from the Betty Crocker cookbook. That would, I thought, certainly please my German grandpa. And besides; potatoes, bacon, onions and pickles were high on my list of most-favored ingredients – as they are to this day.
The actual process of leafing through those cookbooks, I discovered, was a new and exciting activity. Thinking about food, imagining the dishes that went well with one another and even how they would eventually look on a plate was an intoxicating exercise. I later learned from other ardent food lovers and chefs that this particular activity often marked the beginning of their own personal food journeys as well.
Looking back I realize that my father’s love of food had a profound effect on me. Oh, how he loved to eat! So of course, I adored pleasing him. Whenever I made what he referred to as “The Nancy Sandwich” by piling cold cuts, cheeses, pickles and lettuce on an Italian sub roll sometimes so high it was difficult to get your mouth around, he not only heaped praise on me but ate every single bite!

My father was not a cook in the traditional sense. Rather he was – in the summer – our grill man, and in the autumn – the canning guy. He was also an amazing gardener who cultivated his own “Farmer’s Market” right in our backyard. He grew everything from gooseberries, strawberries, rhubarb, raspberries, and grapes to kohlrabi, lettuce, cucumbers, green beans, tomatoes and zucchini. Fresh summer produce was a big part of my growing-up years. At harvest time he and my mother made grape jelly, raspberry and strawberry jam, jar after jar of canned tomatoes, my father’s delicious zucchini pickles (blog – Tuscany III “A Region for all Seasons”) and in his later years, during rhubarb season, he experimented with making rhubarb wine. Strong and acidic are the words that come to mind when I think about my first and only taste – the kind of wine that brings your face to the pucker position. It wasn’t long before he gave up this experiment.
A more successful rhubarb story, however, is the delicious rhubarb pie my mother baked each year during this season. I love the creamy custard-like consistency of this rhubarb recipe, of which the key is the addition of the whisked eggs. It’s a mellow and simply delicious version!

Thelma’s Old Fashioned Rhubarb Pie
Preheat oven to 400 degrees
Pie Pastry
2 cups sifted all-purpose flour
1-teaspoon salt
2/3 cup shortening
5 – 7 tablespoons cold waterSift flour and salt together. Cut in the shortening with pastry blender until pieces are the size of peas. Sprinkle with cold water – 1 tablespoon at a time to moisten all of the mixture making sure it is not too dry and not too moist. It should begin to pull together as a ball. Form into 2 balls. Chill (it is easier to work with the dough if it is chilled)
On a lightly floured surface, flatten the first ball and roll until 1/8 inch thick. Carefully transfer that rolled out sheet to a 9-inch pie plate. Press the dough evenly on the sides and bottom of the pie plate. Roll second ball for top. When flat about 1/8 inch thick, cut into strips for a lattice top. Strips should be ½ to ¾ inch wide. Use a blunt knife or pizza or pastry cutter to cut strips. Set aside.
Filling
1 ½ cups sugar
¼ cup flour
¾ teaspoon nutmeg
3 eggs
1-pound rhubarb cut into ½ inch pieces (4 cups)Combine the sugar, flour and nutmeg. Whisk the eggs together and add to the sugar/flour mixture. Add the rhubarb pieces. Mix well.
Combining the Filling and the crust
Filling
2 tablespoons butter
Sugar
CinnamonFill the pie shell with the pie filling. Dot with the butter. Lay out 4 to 7 parallel strips on top of filling with about ½ to ¾ inch space between them. Fold back every other strip. Place one long strip perpendicular to parallel strips. Unfold the folded strips over the perpendicular strip. Now take the parallel strips that are running underneath the perpendicular strip and fold them back over the perpendicular. Lay a second perpendicular strip next to the first one with space between the strips and unfold parallel strips over the second strip. Continue this until the weave is complete. Trim the edges of the strips flush with the underlying pie, which should be about an inch over the sides. Fold back the rim of the shell over the edge of the lattice strips and crimp to secure.
Sprinkle top with a cinnamon and sugar mixture. Bake for 50 to 60 minutes. Cover edges with foil for first 30 minutes to prevent over browning.
***************************************************

During my growing up years, my family, typical of most forties and fifties families, sat down to the table at dinnertime for a simple home cooked meal of meat, vegetables (often overcooked – al dente were words yet to be uttered in this era) and a homemade dessert. Although my mother made her own homemade “noodles” (probably my first introduction to pasta), I believe she enjoyed baking more than cooking. And I remember the results of her baking much more clearly than the meals she cooked: the cookie jar always brimming with fresh cookies; the rhubarb blueberry, cherry, apple and banana cream pies; her favorite poppy seed cake; Christmas sugar cookies with what was referred to as “butterfly” frosting; and my favorite – German cheesecake, a recipe from my father’s mother who passed away long before I was born – made with cottage cheese, lots of lemon and a delicious graham cracker crust. Not too sweet. Not too rich.


One of my most memorable teenage cooking duties was making french fries, a favorite food of mine and the quintessential carrier (even more than ring balogna) for ketchup. I would slip down to the basement where we stored our french fryer and through trial and error, eventually discovered the secret to crispy and beautifully browned french fries. I not only remember the process of making the fries but also my time in the basement. It was a place of respite for me – a place away from everyone and everything. My father worked hard to make this room less catacomb-like by painting the walls typical fifties bright colors and even painting the cement floor with the same bright colored sponge designs. His “cozying-up” efforts also included building a knotty pine cupboard and knotty pine shelves, which housed my mother’s folk art (rosemaling) trays and platters.
As I enjoyed these surroundings and my solitude, I eventually came to the conclusion that the key to the perfect french fry was to first thoroughly dry the potatoes in paper toweling and then to submerge them into very hot oil (375 degrees). As I waited for golden brown results, I would wander into what we referred to as our “fruit cellar”, the room where all the canned goods were stored, to check out the latest jarred vegetable or fruit addition or mosey into my father’s workroom to admire his latest project, always enjoying the smell of freshly sawn wood. Or if I felt especially daring, I would put a Doris Day record on the phonograph and sing along to “You’re Mean to Me” or “Ten Cents a Dance” (two of my favorites) and even at times pretend to actually BE Doris Day. This room – away from it all, was a perfect place for daydreaming. Then after the potatoes turned golden brown, I would once again toss them in paper towels to absorb the excess oil. The result – french-fries with a crunchy exterior and a light and fluffy interior! Mission accomplished while also having a good time in the process.
***************************************************
Trial and error played a significant role in my culinary education over the years. Know your ingredients before cooking them was one of the first lessons I learned. My first “ingredient” lesson was with lamb chops. While teaching in Lexington, Massachusetts when my then-husband attended Harvard Business School, we followed a very strict budget. I was newly married, living in Waltham, a suburb close to Lexington where I taught, but not close to much else so not having a driver’s license or a car, I was totally dependent on other people for any outside activity. Much of my time away from teaching was therefore spent in our little apartment reading, watching TV and thinking about what I would cook for dinner. It was a rather lonely time, but one where I continued inching towards my eventual calling.
One night after flipping through a cookbook (probably while drinking a Tab and smoking a cigarette – oh the bad old days!) I decided I wanted to cook lamb chops for dinner. It sounded straightforward, but slightly exotic. I carefully perused the meat section of the supermarket and found a vast discrepancy between different cuts, but decided on the least expensive ones I could find. They were downright cheap! That night I sautéed them in olive oil with just a sprinkle of salt, pepper and a little thyme until browned but medium rare in the center just like my cookbook The Joy of Cooking recommended. The result was horrid – the chops were tough, chewy and very gamey – almost inedible. What had I done wrong I wondered?
I learned later that there is no term for mutton in America, so meat from a sheep two years old or older is called lamb regardless of age whereas in many other countries it would be called mutton. These chops most definitely fell into the mutton category. The sheep must have been a grandpa! Lesson learned! In the future I made certain to look for the label “spring lamb” which indicates that the lamb was slaughtered between March and October and is from a sheep 6 to 10 weeks old – very young, very tender. No old guys for me anymore unless I’m making a slow-cooking lamb stew.
Because we had little money and my then husband studied all the time, I did lots of cooking mostly with recipes I was familiar with – even resurrecting some old dishes like ring bologna and German potato salad. But I also experimented with new recipes. Of course, with experimentation came inevitable blunders! One was made with tomato paste. Because I had no regular canned tomatoes in the house and no access to a car to go to the grocery store and buy them, I substituted tomato paste for canned tomatoes in a new veal scaloppini recipe I was trying. Both were tomatoes in a can after all! Big mistake! My Vitello Scaloppini alla Pizzaiola was thick, concentrated and very goopy. Next time, I decided, I would follow the recipe explicitly and use quality canned tomatoes, which I then realized would produce a juicier sauce just the right consistency for this dish. Or at the very least, add broth or water to the tomato paste to thin it out a bit.
***************************************************
Moving back to Chicago from Boston in 1965, my culinary education became a food journey of a different sort. I continued to search for new recipes in both cookbooks and food magazines but now after becoming a mom, I started to search for quick and easy recipes that could be cooked while feeding children in their high chairs and folding laundry at the same time. I also began to look for “cooking buddies”. Staying home with little kids could sometimes be lonely and frustrating – especially when they were babies so cooking with a friend or a family member was often the highlight of my day and frequently provided a playmate or two for my children. A side benefit in almost every instance, no matter who the cook, was learning something new; be it a new recipe, an unexpected ingredient or technique. Brilliant new tidbits of information like drizzling extra virgin olive oil on top of a bean soup to enhance its flavor or steam cooking vegetables in a covered steamer as a way to preserve their nutritive value made a tremendous difference in the outcome of a dish.
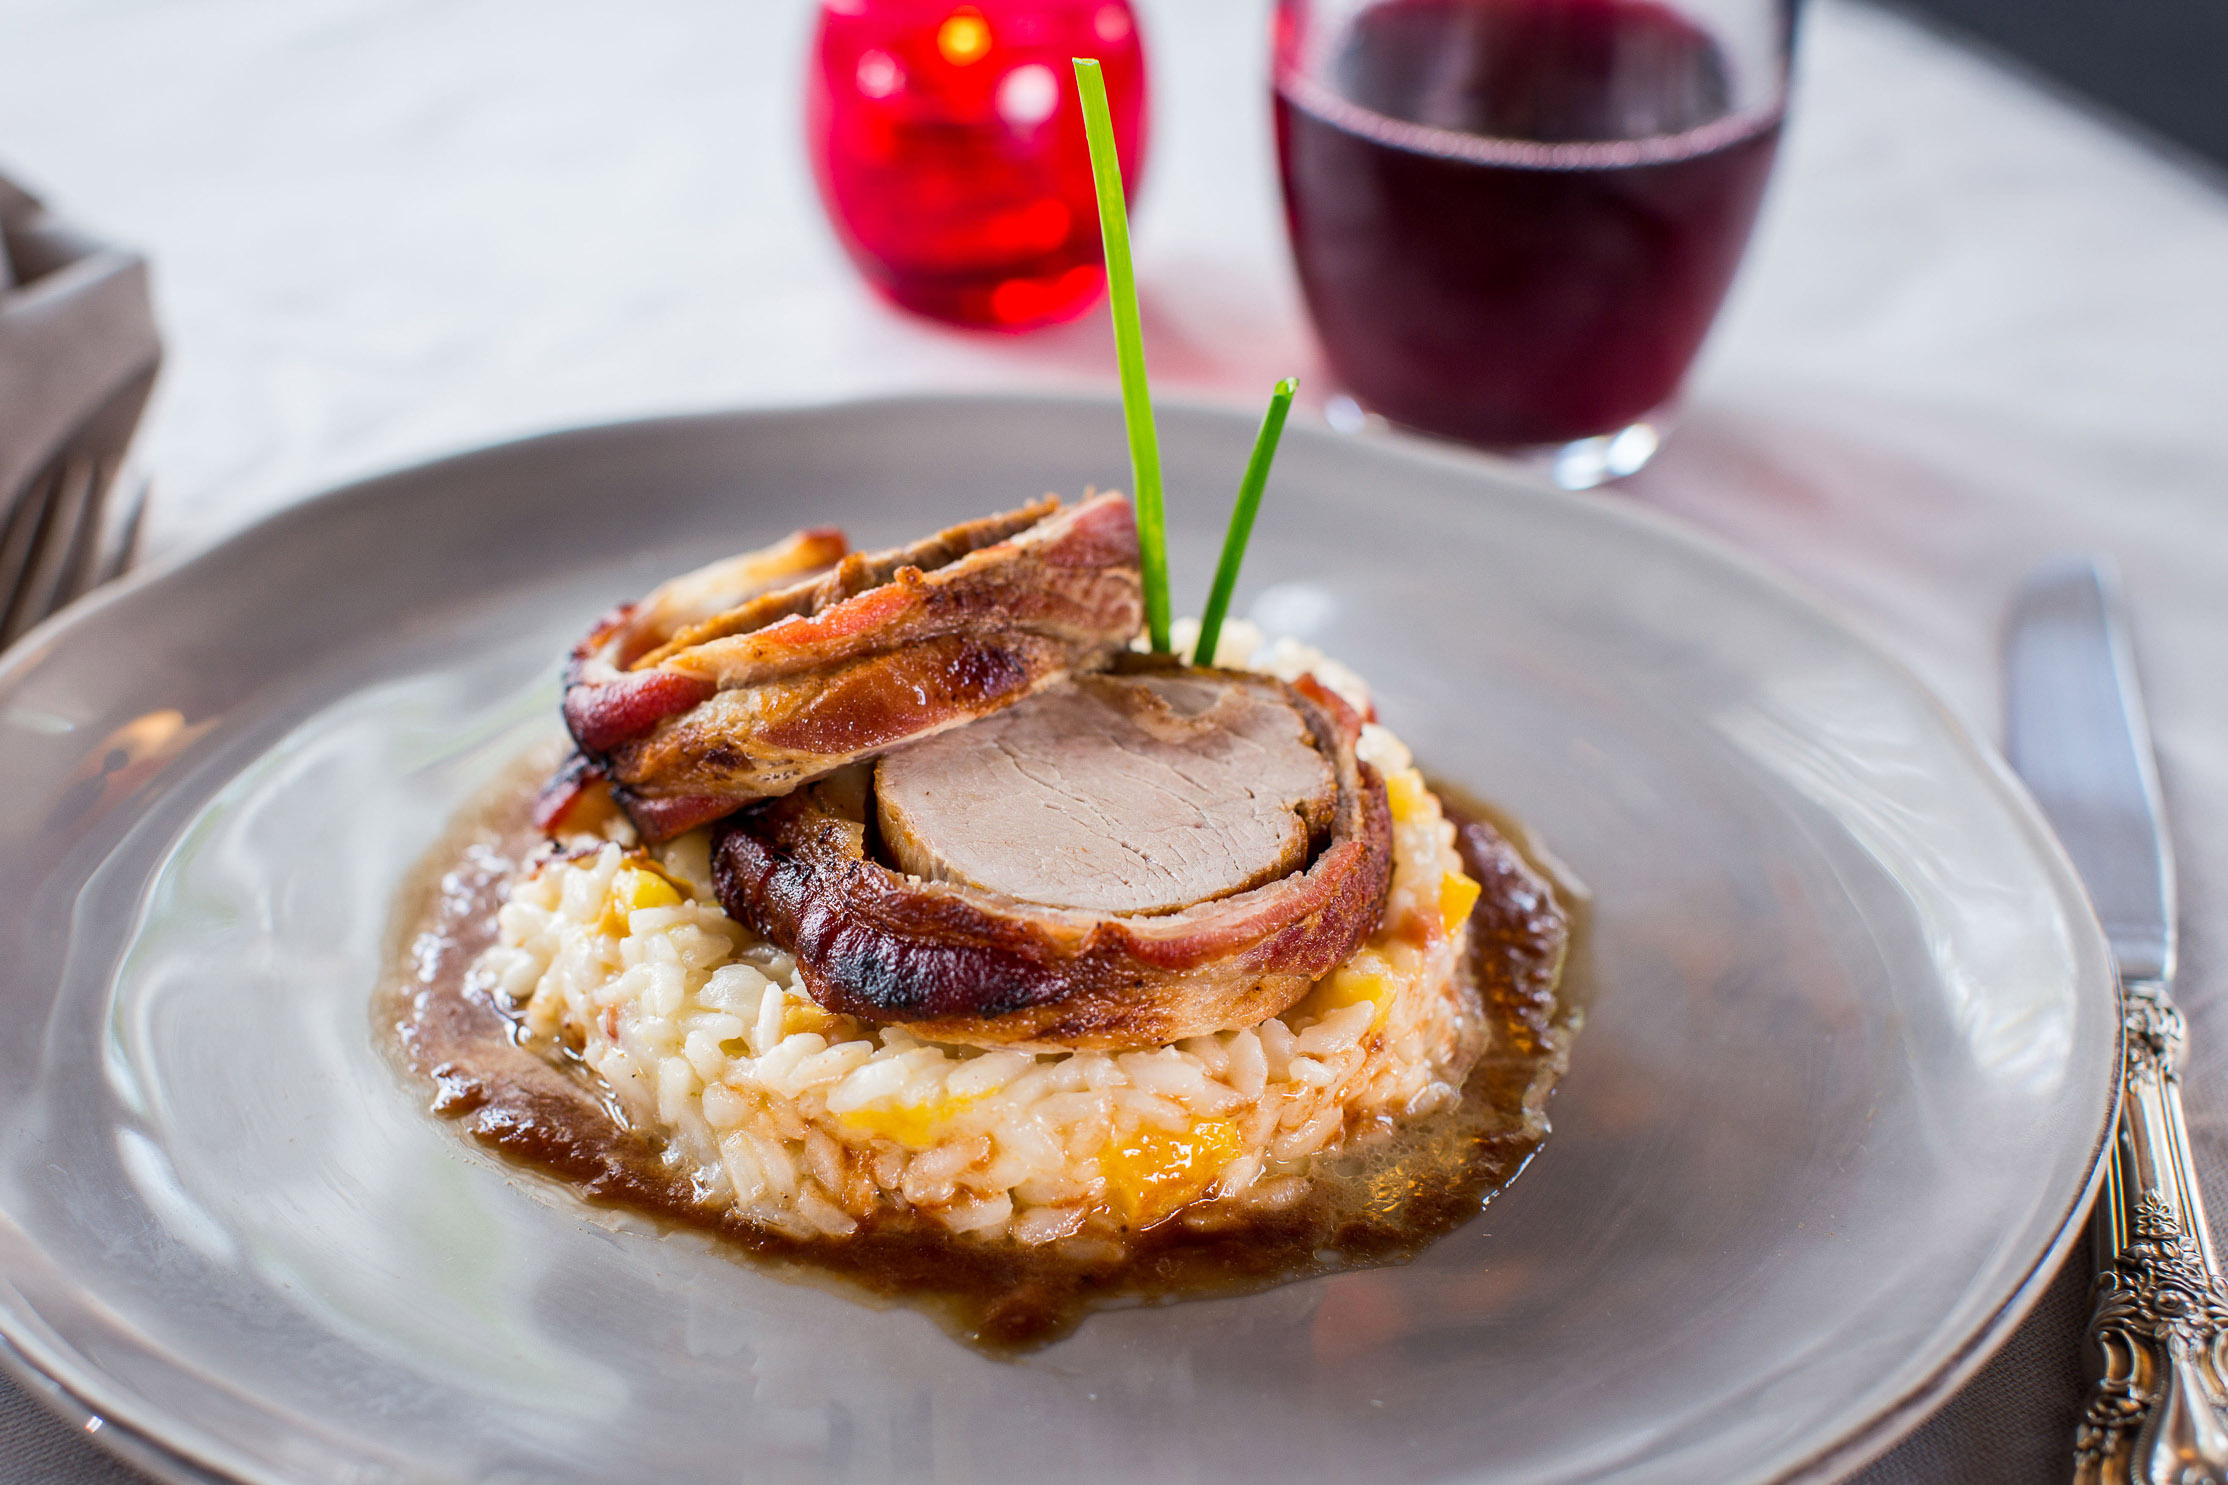
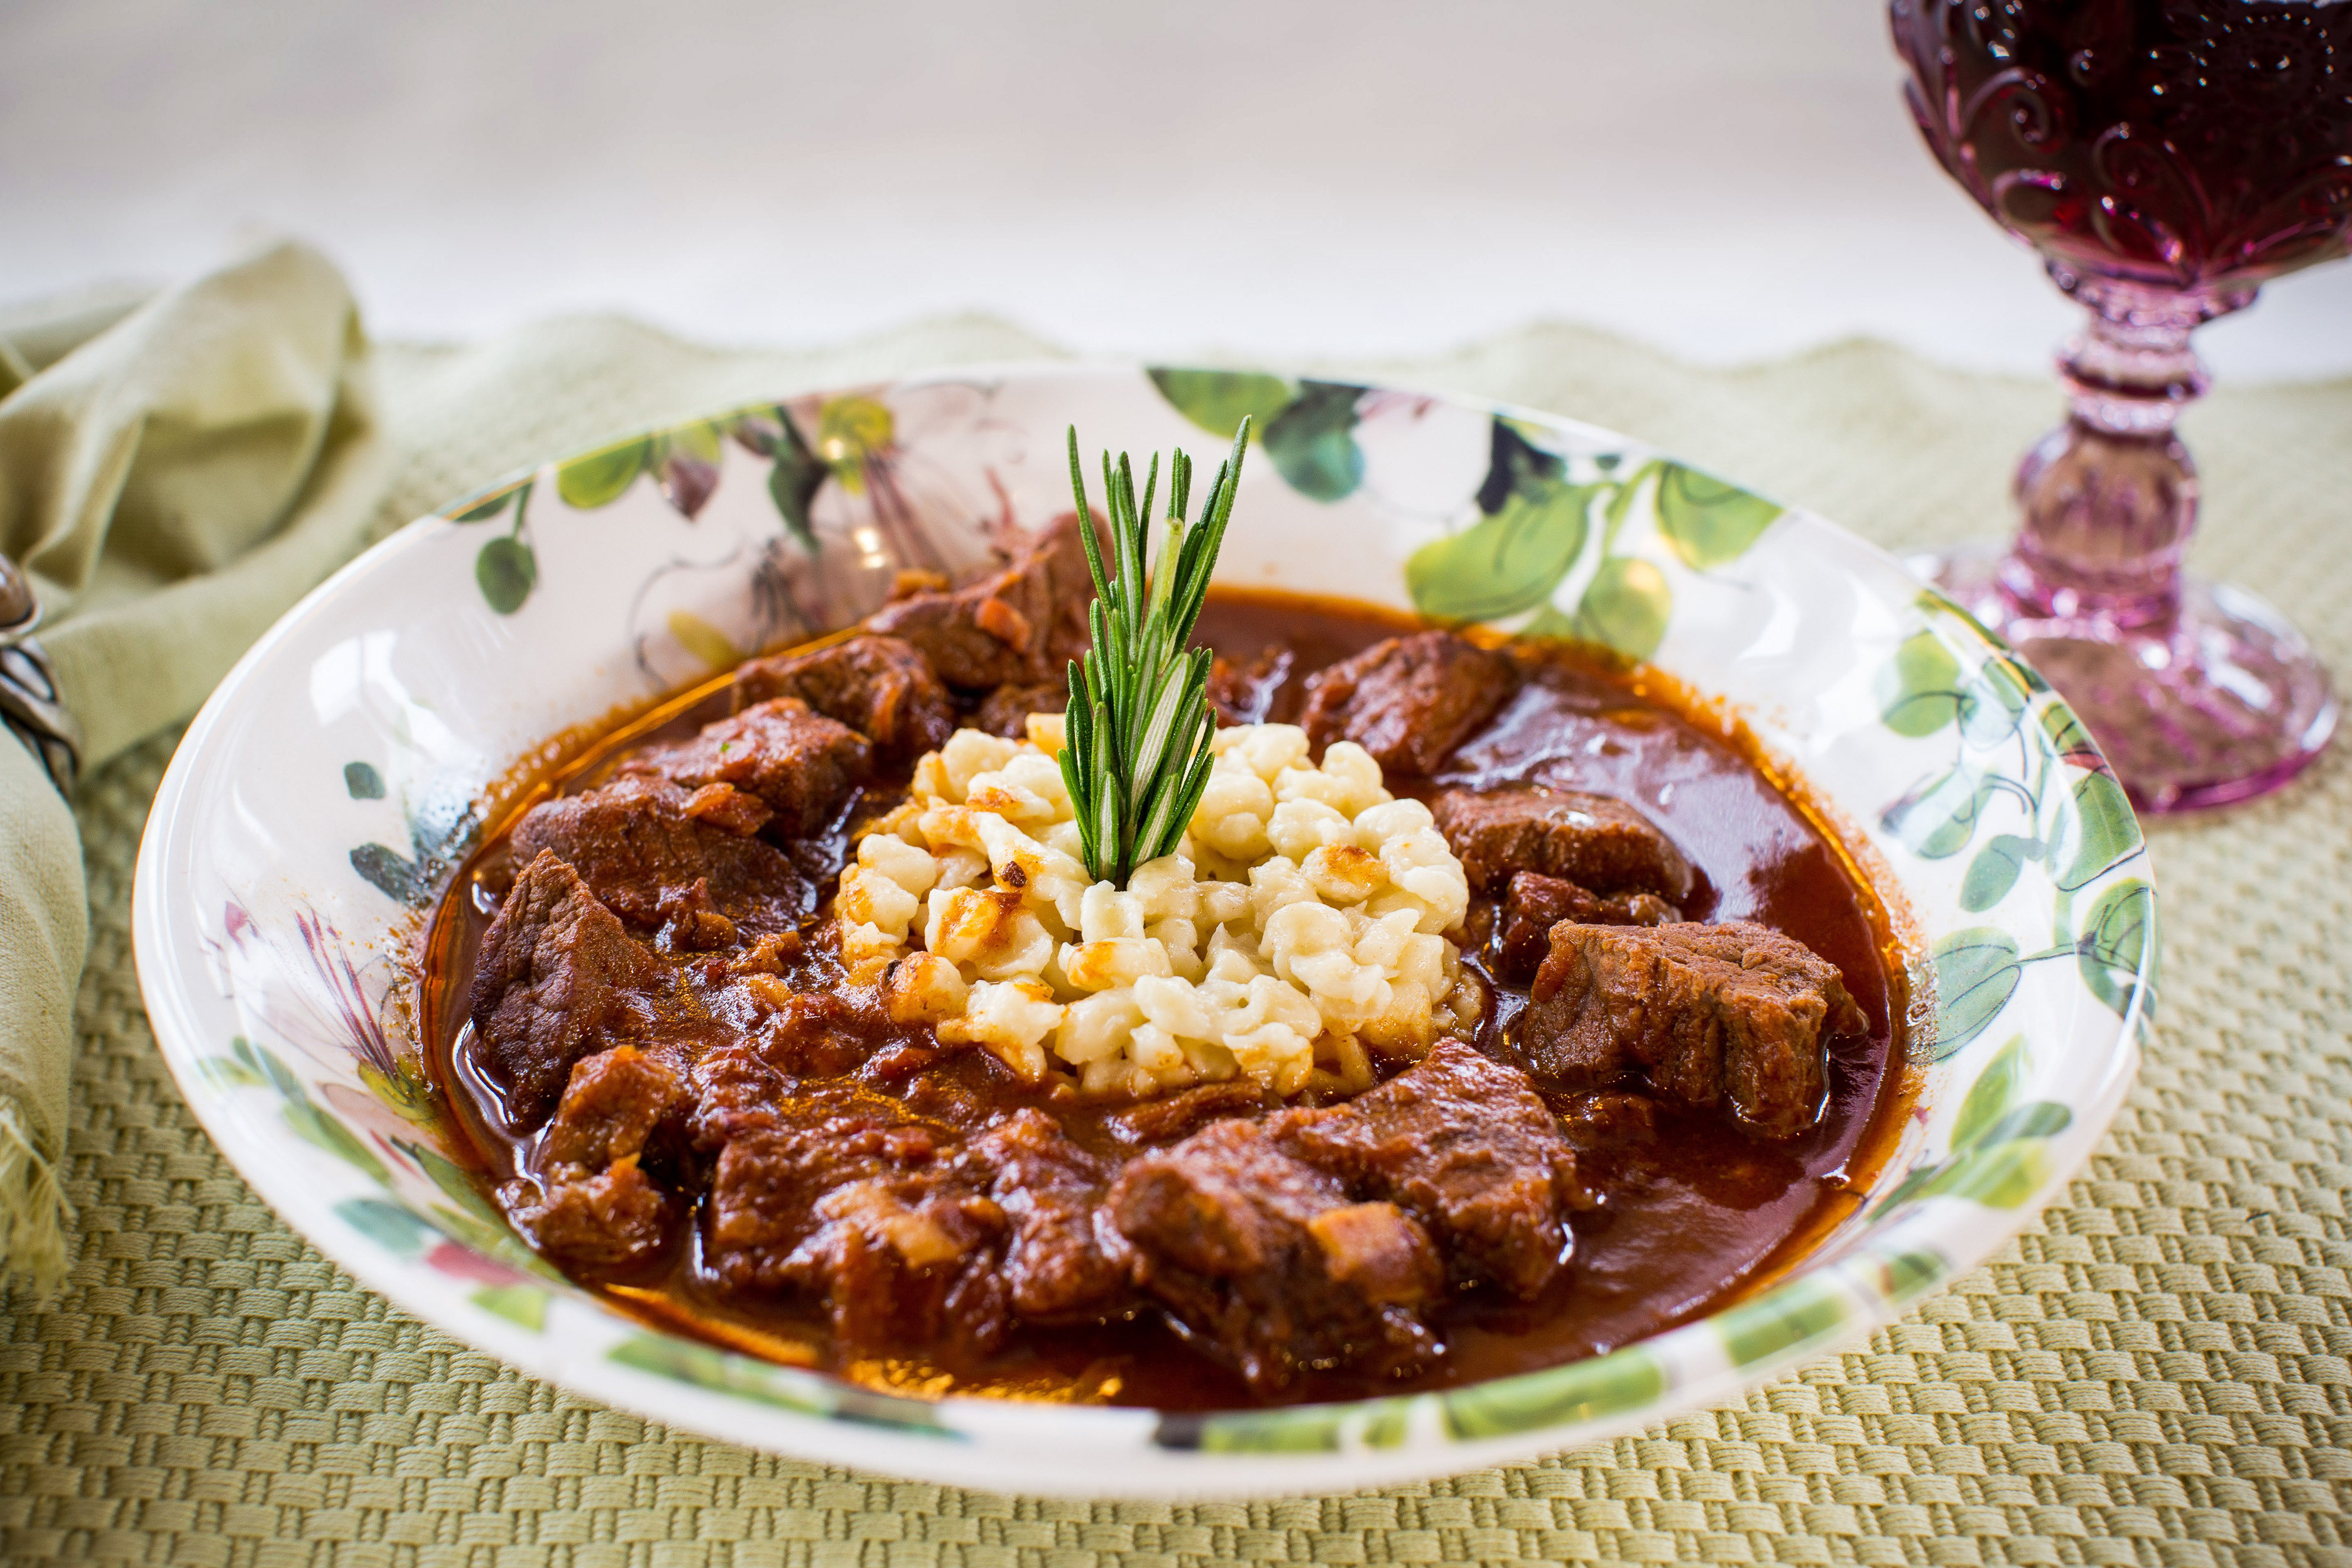
One of my earliest “cooking buddies” was Marcia Solvsberg, a former college sorority sister who became my Evanston neighbor when we moved back from Boston. “Buggy time” in the park with our two little napping babies (Robby and Chrissie) allowed us time to talk. And food – mainly what we would cook for dinner that night quickly, cheaply and easily – was our principal topic of conversation. Some days we would wheel our kids back to one of our apartments and cook those meals together, usually preparing simple casseroles often accompanied by the ubiquitous icon of its age: the Jell-O mold. One of my favorite Marcia recipes was a wild rice stuffed chicken breast – very exotic we thought – whose sauce contained – strangely enough – white wine, a can of mushroom soup and a quarter of a cup of – OMG – currant jelly. Though it sounds weird, it was strangely delicious and was one of those recipes that I passed on to many people. My sister Karen shared it with a friend who owned a catering business who claims it was the most requested dish on her menu. Eventually Marcia and I became more daring and moved on to more sophisticated and complicated dishes that we discovered in magazines like Bon Appetit and Gourmet – dishes like Marcia’s Worldly Stroganoff or my Osso Buco with Risotto Milanese.
Marcia also introduced me to the Evanston Woman’s Club, an organization of women of a similar age with little children and all looking for ways to occupy ourselves outside of the home. We all seemed to need intellectual stimulation and this unique little club gave our brains a creative outlet. The annual Women’s Club Show – a review which raised funds for charity – was the main event. Written, directed, choreographed and performed by members and their husbands it not only fulfilled the creativity we lacked, but provided us with new friendships – many of which I have to this day. Much of the time we all spent together centered around discussions about raising children, a part of which was what we could make for dinner that evening that was both delicious and fast.

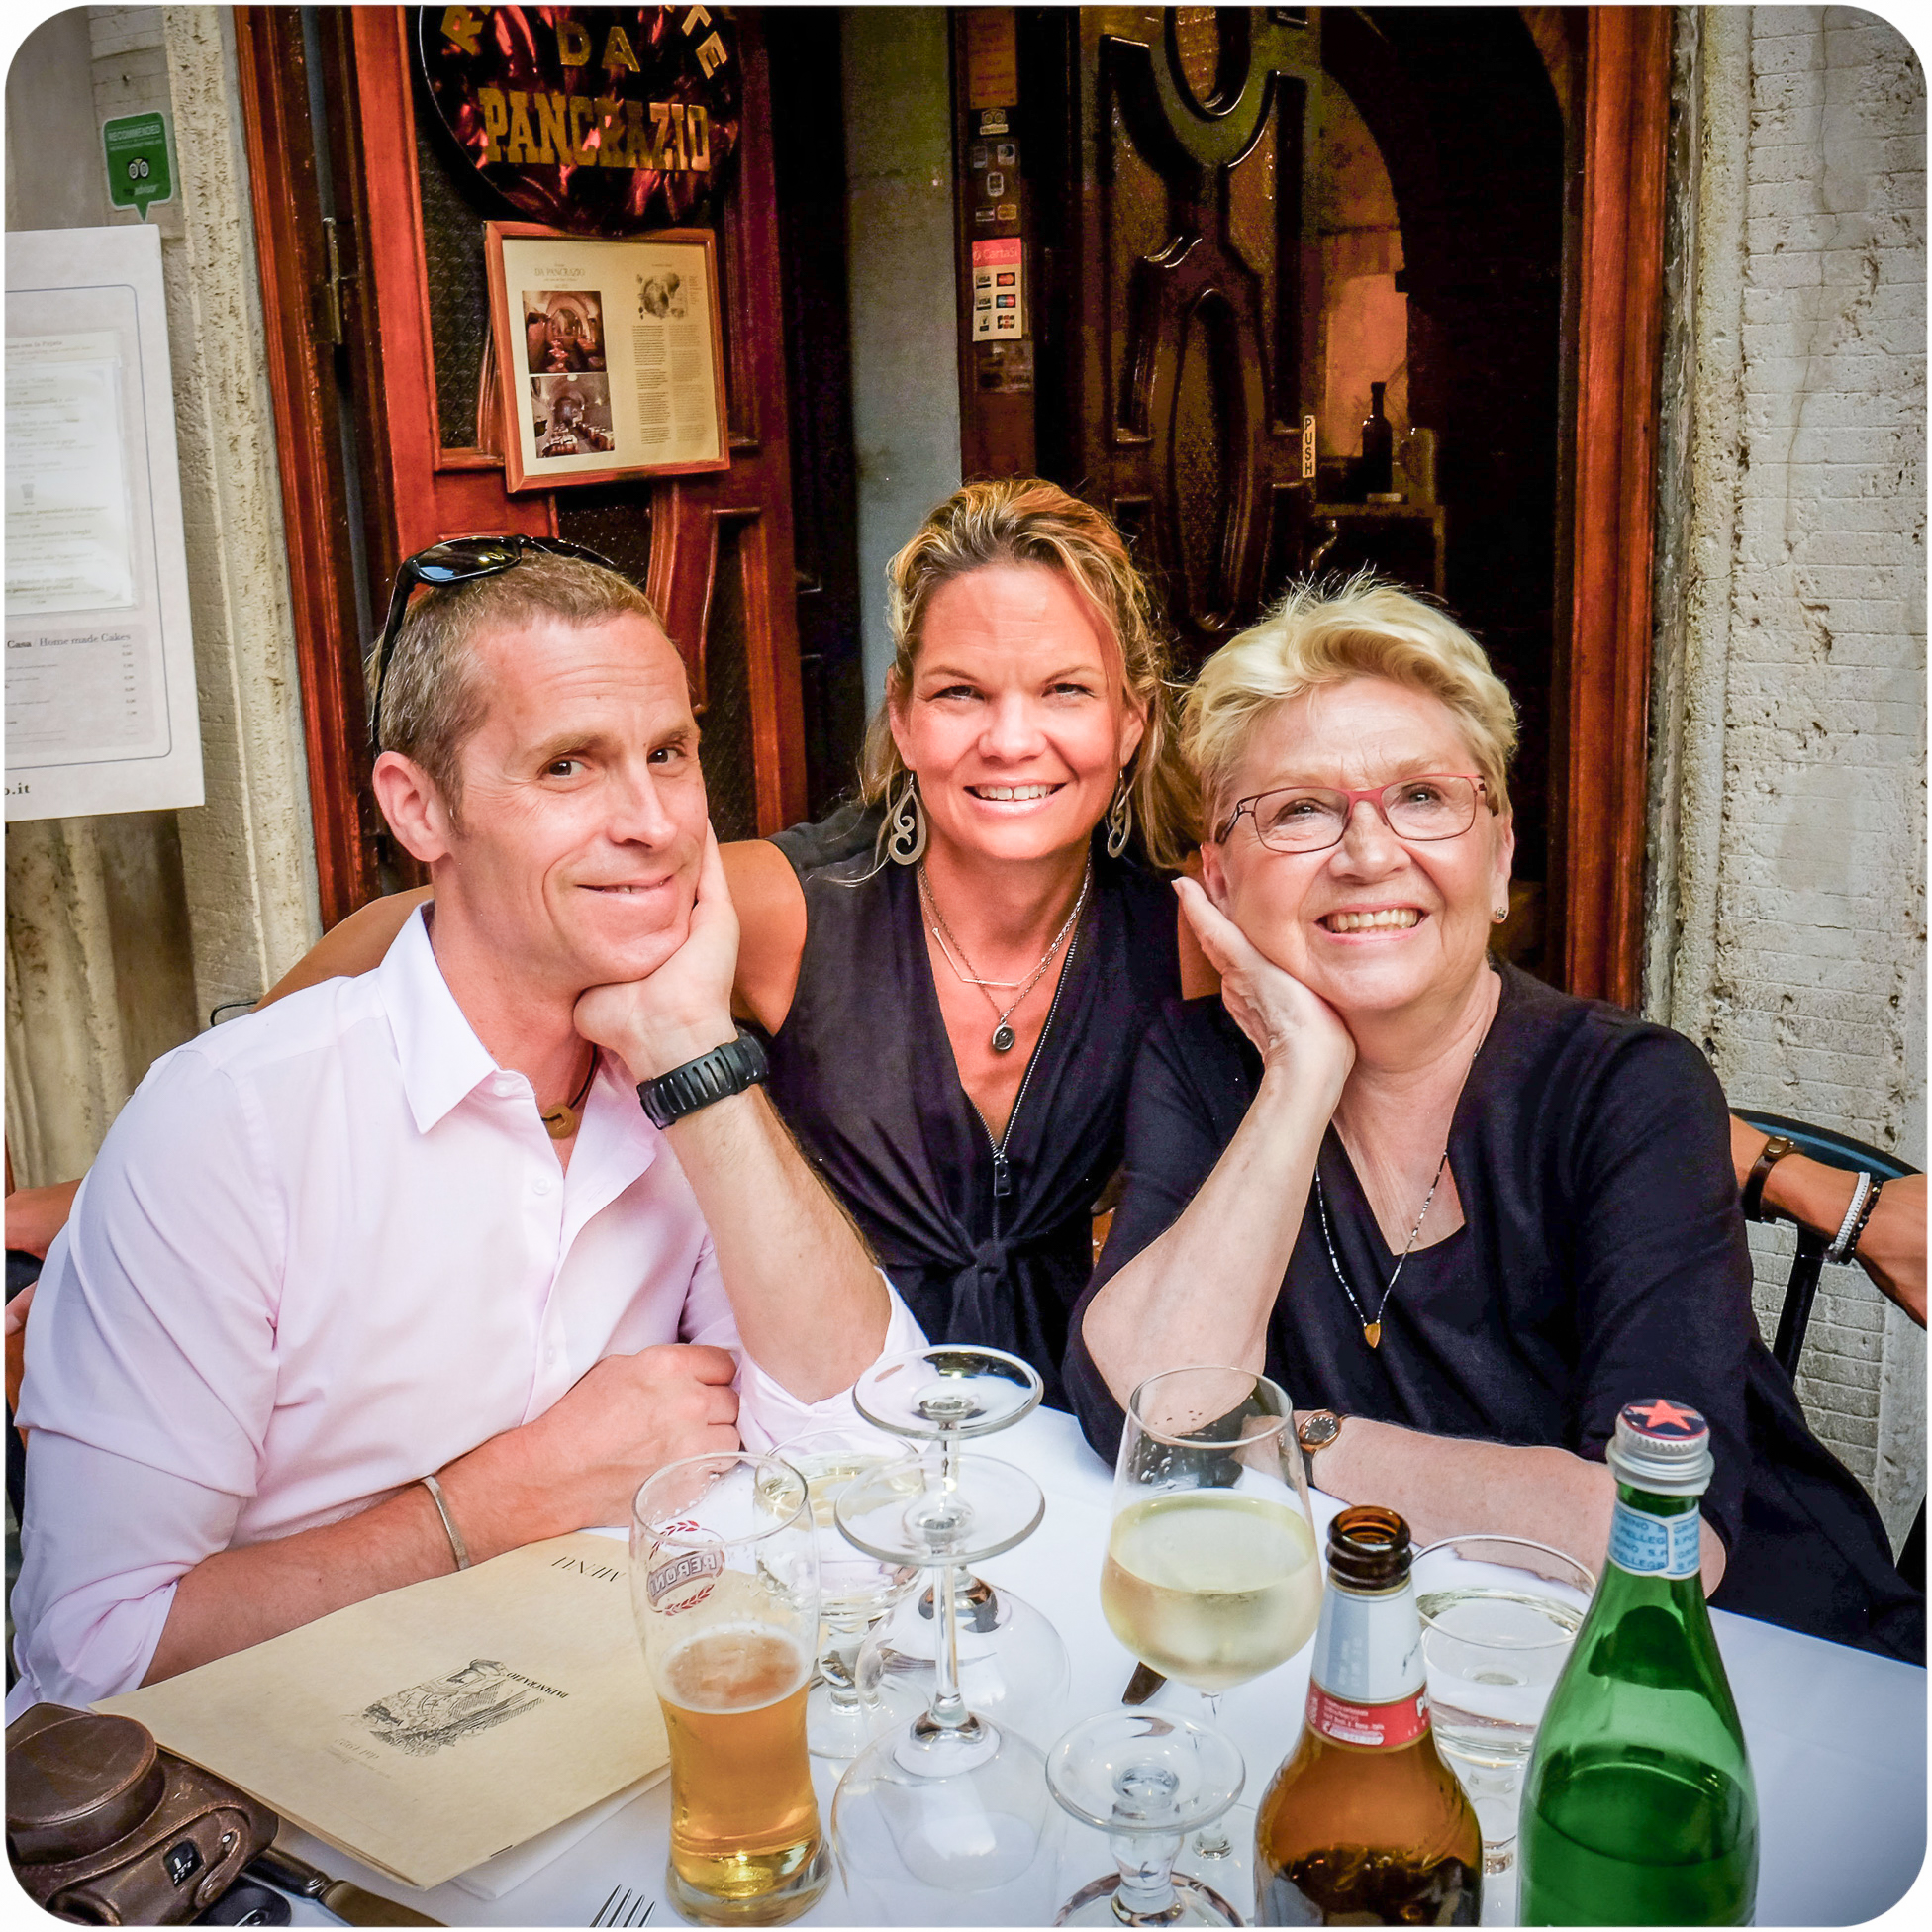
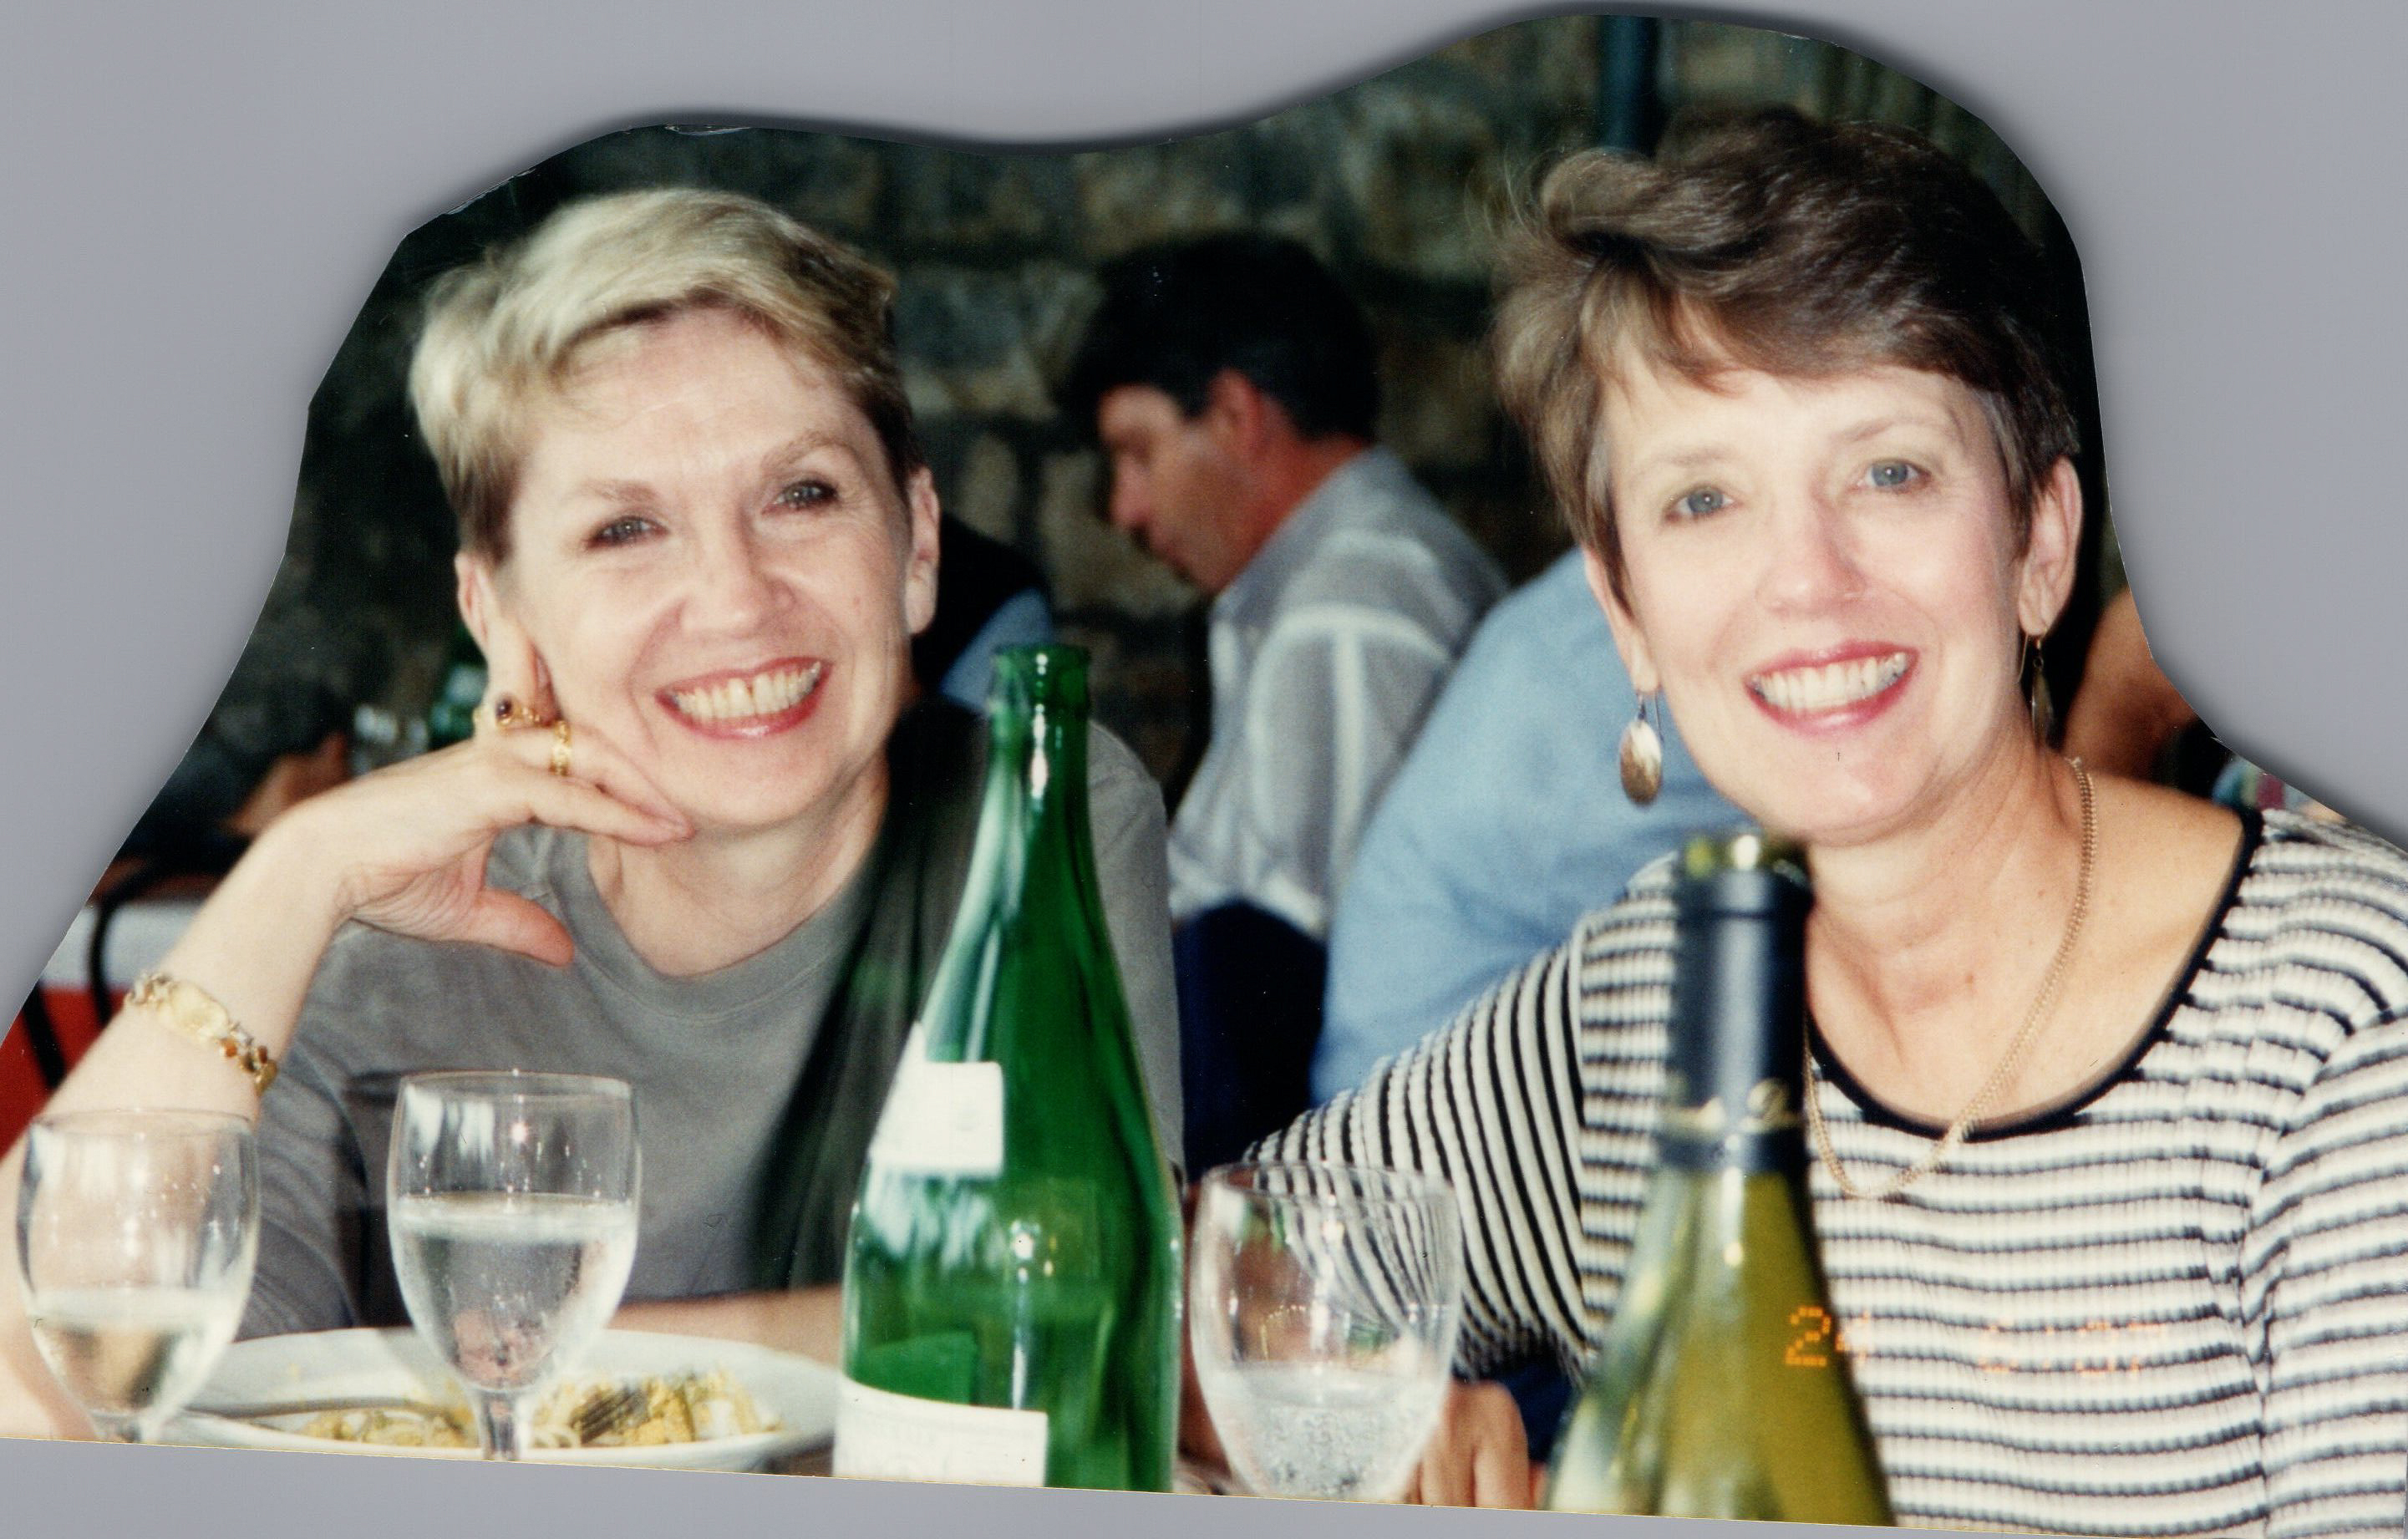
Colleen Remsberg and Sheila Bradley
Enter…canned goods! Most of the recipes we shared contained at least one canned product as an ingredient. Who can forget the iconic casserole of the decade – canned green beans, canned cream of mushroom soup and canned crispy onions? Just open three cans, mix and voila! Other recipes like Mary Lou O’Malley’s Hamburger Pie, my sister Joan Cole’s Johnny Mazetti and Thelma Brussat’s Swiss Steak also fit that bill. When I look back I guess I am not really that surprised that a bunch of first-time moms with young kids, little money and living in a pre-Food Network era cooked with canned food. But what still surprises a lot people is that some of the resulting dishes were good enough that I use them to this day (though maybe with a few alterations)! A favorite was – and is – the Evans girl’s (Sheila Bradley and Colleen Remsberg) Sweet & Sour Baked Beans –a recipe from their mother that their father referred to as “funeral beans” because the only time he ever got to enjoy them was when someone died and his wife brought her bean casserole to the “after-the-wake” buffet. This hearty casserole whose sauce combines brown sugar with vinegar, mustard, onions and bacon makes for a delicious accompaniment to any backyard barbeque. Whenever I have served it, I have always been asked to share the recipe.

© rob warner photography 2019
“Funeral Beans”
(aka: Sweet and Sour Baked Beans)
1 pound bacon cut up
2 cups onions, diced
1 teaspoon dry mustard
½ cup white vinegar
¾ cup light brown sugar
1 can (15 oz.) dark red kidney beans
1 can (15 oz.) light red kidney beans
1 can (15 oz.) butter beans
1 can (15 oz.) cannellini or great northern beans
1 small can lima beans
1 large can original pork and beansIn a large sauté pan, brown the bacon and drain. Add the onions, mustard, vinegar and brown sugar. Mix well and sauté for about 20 minutes.
Drain all the beans except for the pork and beans. Place the beans in a bean pot, pour the bacon/onion mixture over and gently stir.
Bake in a 350 degree oven for 1 hour.
Note: drain all but 2 tablespoons of the bacon fat and sauté the onions for approximately 2 to 3 minutes before adding the mustard, vinegar and brown sugar.
***************************************************

Mary Nahser and I in 1976
Another one of my early “cooking buddies” was my Evanston neighbor and friend, Mary Nahser. During one chilly Chicago winter in the early seventies, Mary and I decided to take a Chinese cooking class together. We began with demonstration classes on regional Chinese food (mostly focusing on Cantonese, Szechuan and Mandarin) at the Oriental Food Market in Chicago. Those classes were incredibly fun, but we were immediately ready for something more intense so we signed up for a “hands-on” class taught by Sarah Moy, a local Chinese Cookbook author (Let’s Cook Chinese) and teacher. In the first classes we took, the instructor handed out carbon copies of the recipes being demonstrated that day but in Sarah’s class things were different. She dictated the recipes. And since English was not her first language (and quite possibly not even her second), students were never certain that our note-taking was correct. Did we have the right ingredients? The right preparation instructions? So when we were asked to then make the dish right there in front of her, many of us were understandably nervous. And Sarah, the taskmaster, did not believe in coddling her students.

During one of our sessions – as per Sarah’s instructions – I peeled stalks of broccoli slicing them with a cleaver on the diagonal into ¼ inch sections to prepare them for a stir-fry dish. Just as I was about to slice the head, Sarah appeared at my side. Never will I forget the look of horror on her face as she observed me beginning to slice the head of the broccoli in the same manner as the stalks (1/4 inch slices) making a total mess – little pieces of small, dense, floral shoots strewn over the table like little green crumbs. “No”, she shouted, grabbing the clever from my hand, “you trim the head into little florets.” She didn’t add “you, stupid girl”, but I certainly felt like she was thinking just that. Of course, I knew better. I had sliced broccoli florets a multitude of times in my own kitchen but with my teacher so close, I reverted back to my third-grade self, panicked and made a mess!
I learned much from these Chinese cooking lessons. Not only how to make wonderful dishes, but these were my fist formal lessons in knife skills. Knowing how to properly and efficiently dice and slice is an important skill on anyone’s road to becoming competent in the kitchen. My kitchen technique has never been better or more finely tuned than during this “Chinese period”.
Mary and I cooked many Chinese meals together during and after our cooking lessons, but it all culminated in a spectacular 10-course feast we prepared for a group of mutual friends. Our menu included all our favorites from both classes: fantail shrimp, eggrolls, Peking duck, hot peanut chicken, deep-fried sweet and sour sea bass, moo shu pork and beef with peapods. We have often reminisced about what an ambitious undertaking it was preparing these marathon Chinese meals. They required so much advance chopping and dicing and a ridiculous amount of last-minute cooking. But learning this very distinctive culinary style of cooking with its emphasis on fresh, seasonal produce, short stove-to-table serving time and a LOT of different ingredients – brought a new dimension to my culinary education that remains with me to this day.
Mary has prepared this wonderfully flavorful dish many times. Following is the recipe with a few “Mary Hints” at the end.

Beef with Peapods
(serves 4)1 pound flank steak (Semi-frozen then cut in thirds vertically making thin slices across the grain)
Marinate sliced steak at least ½ hour in a mixture of the following:
1-tablespoon fresh ginger (3 slices minced)
1-tablespoon dark soy sauce
1-tablespoon oil
¼ teaspoon sugar
1 ½ teaspoons cornstarch mixed with 2 – 3 tablespoons waterHeat 3 tablespoons oil in wok. When hot, add meat and stir-fry until medium-rare. Set aside. Clean wok.
1 fresh pound peapods
1 can water chestnuts, sliced
3 dried black mushrooms, soaked and shredded
2 tablespoons rice wine (mirin)
salt
2 tablespoons oyster sauceHeat 2 tablespoons oil in wok. When hot, add peapods, water chestnuts and black mushrooms. Stir-mix and add salt. Splash in the rice wine. Keep mixing up to 3 minutes. Add beef and oyster sauce.
Mary’s hints: Steak is very easy to slice in a semi-frozen state. You can get very thin slices, which is what you want. Meat can be marinated ahead. Cover and keep refrigerated and let come to room temperature next day before stir-frying. Peapods need ends and string removed. Black mushrooms need to be soaked in water, cleaned, shredded and tough stems thrown away.
Variations: Asparagus, broccoli and carrots can be added to this dish
***************************************************
Following is the infamous broccoli recipe from Sarah Moy’s class. Over the years Mary and I have had a good laugh when reminiscing about my moment of “slicing humiliation”.
Stir Fried Broccoli
(serves 4)
1 ½ pounds broccoli
4 tablespoons vegetable oil
2 tablespoons light soy sauce
2 tablespoons rice wine
½ – 1/3 cup chicken broth
3 slices ginger, minced
1 small onion, choppedTrim the head into florets then cut into 1-½ inch pieces. Peel the broccoli stalks with a vegetable peeler to remove tough outer skin then slice into ¼ inch thick on the diagonal.
Heat a large wok over high heat. Add the oil and swirl to coat the wok. Add the ginger and onions and sauté until onion becomes soft. Add broccoli. Stir-fry for approximately 5 minutes. Sprinkle in wine and soy sauce. Stir and mix. Add broth, cover and cook for approximately 5 minutes.
***************************************************
After a satisfying – if at times harrowing – experience with Asian cuisine, I decided I wanted to embrace a new trend in cooking, French food. Julia Child had been the rage for a number of years beginning in the sixties both as a cookbook author and TV personality and it seemed that everyone was taking up French cooking. I started by pouring through the bible of French cuisine at the time, Julia Child’s book Mastering the Art of French Cooking, but eventually found a mentor in a woman by the name of Leslee Reis. Leslee was another friend I acquired through the Evanston Women’s Club. Her journey into lusty French cooking began while doing graduate work at Harvard University in biochemistry. On the side she apprenticed with Julia Child performing any number of menial duties just to be next to her heroine and to observe and learn from the master. After also studying at the Cordon Bleu in Paris, Leslee moved to Evanston with her husband and two boys and quickly decided to open a small catering business while also teaching cooking classes in the basement of a local Evanston church on the side. Her classes were incredibly informative and reliably hysterical. Leslee was a natural – highly intelligent and wickedly funny – another Julia Child in the making.

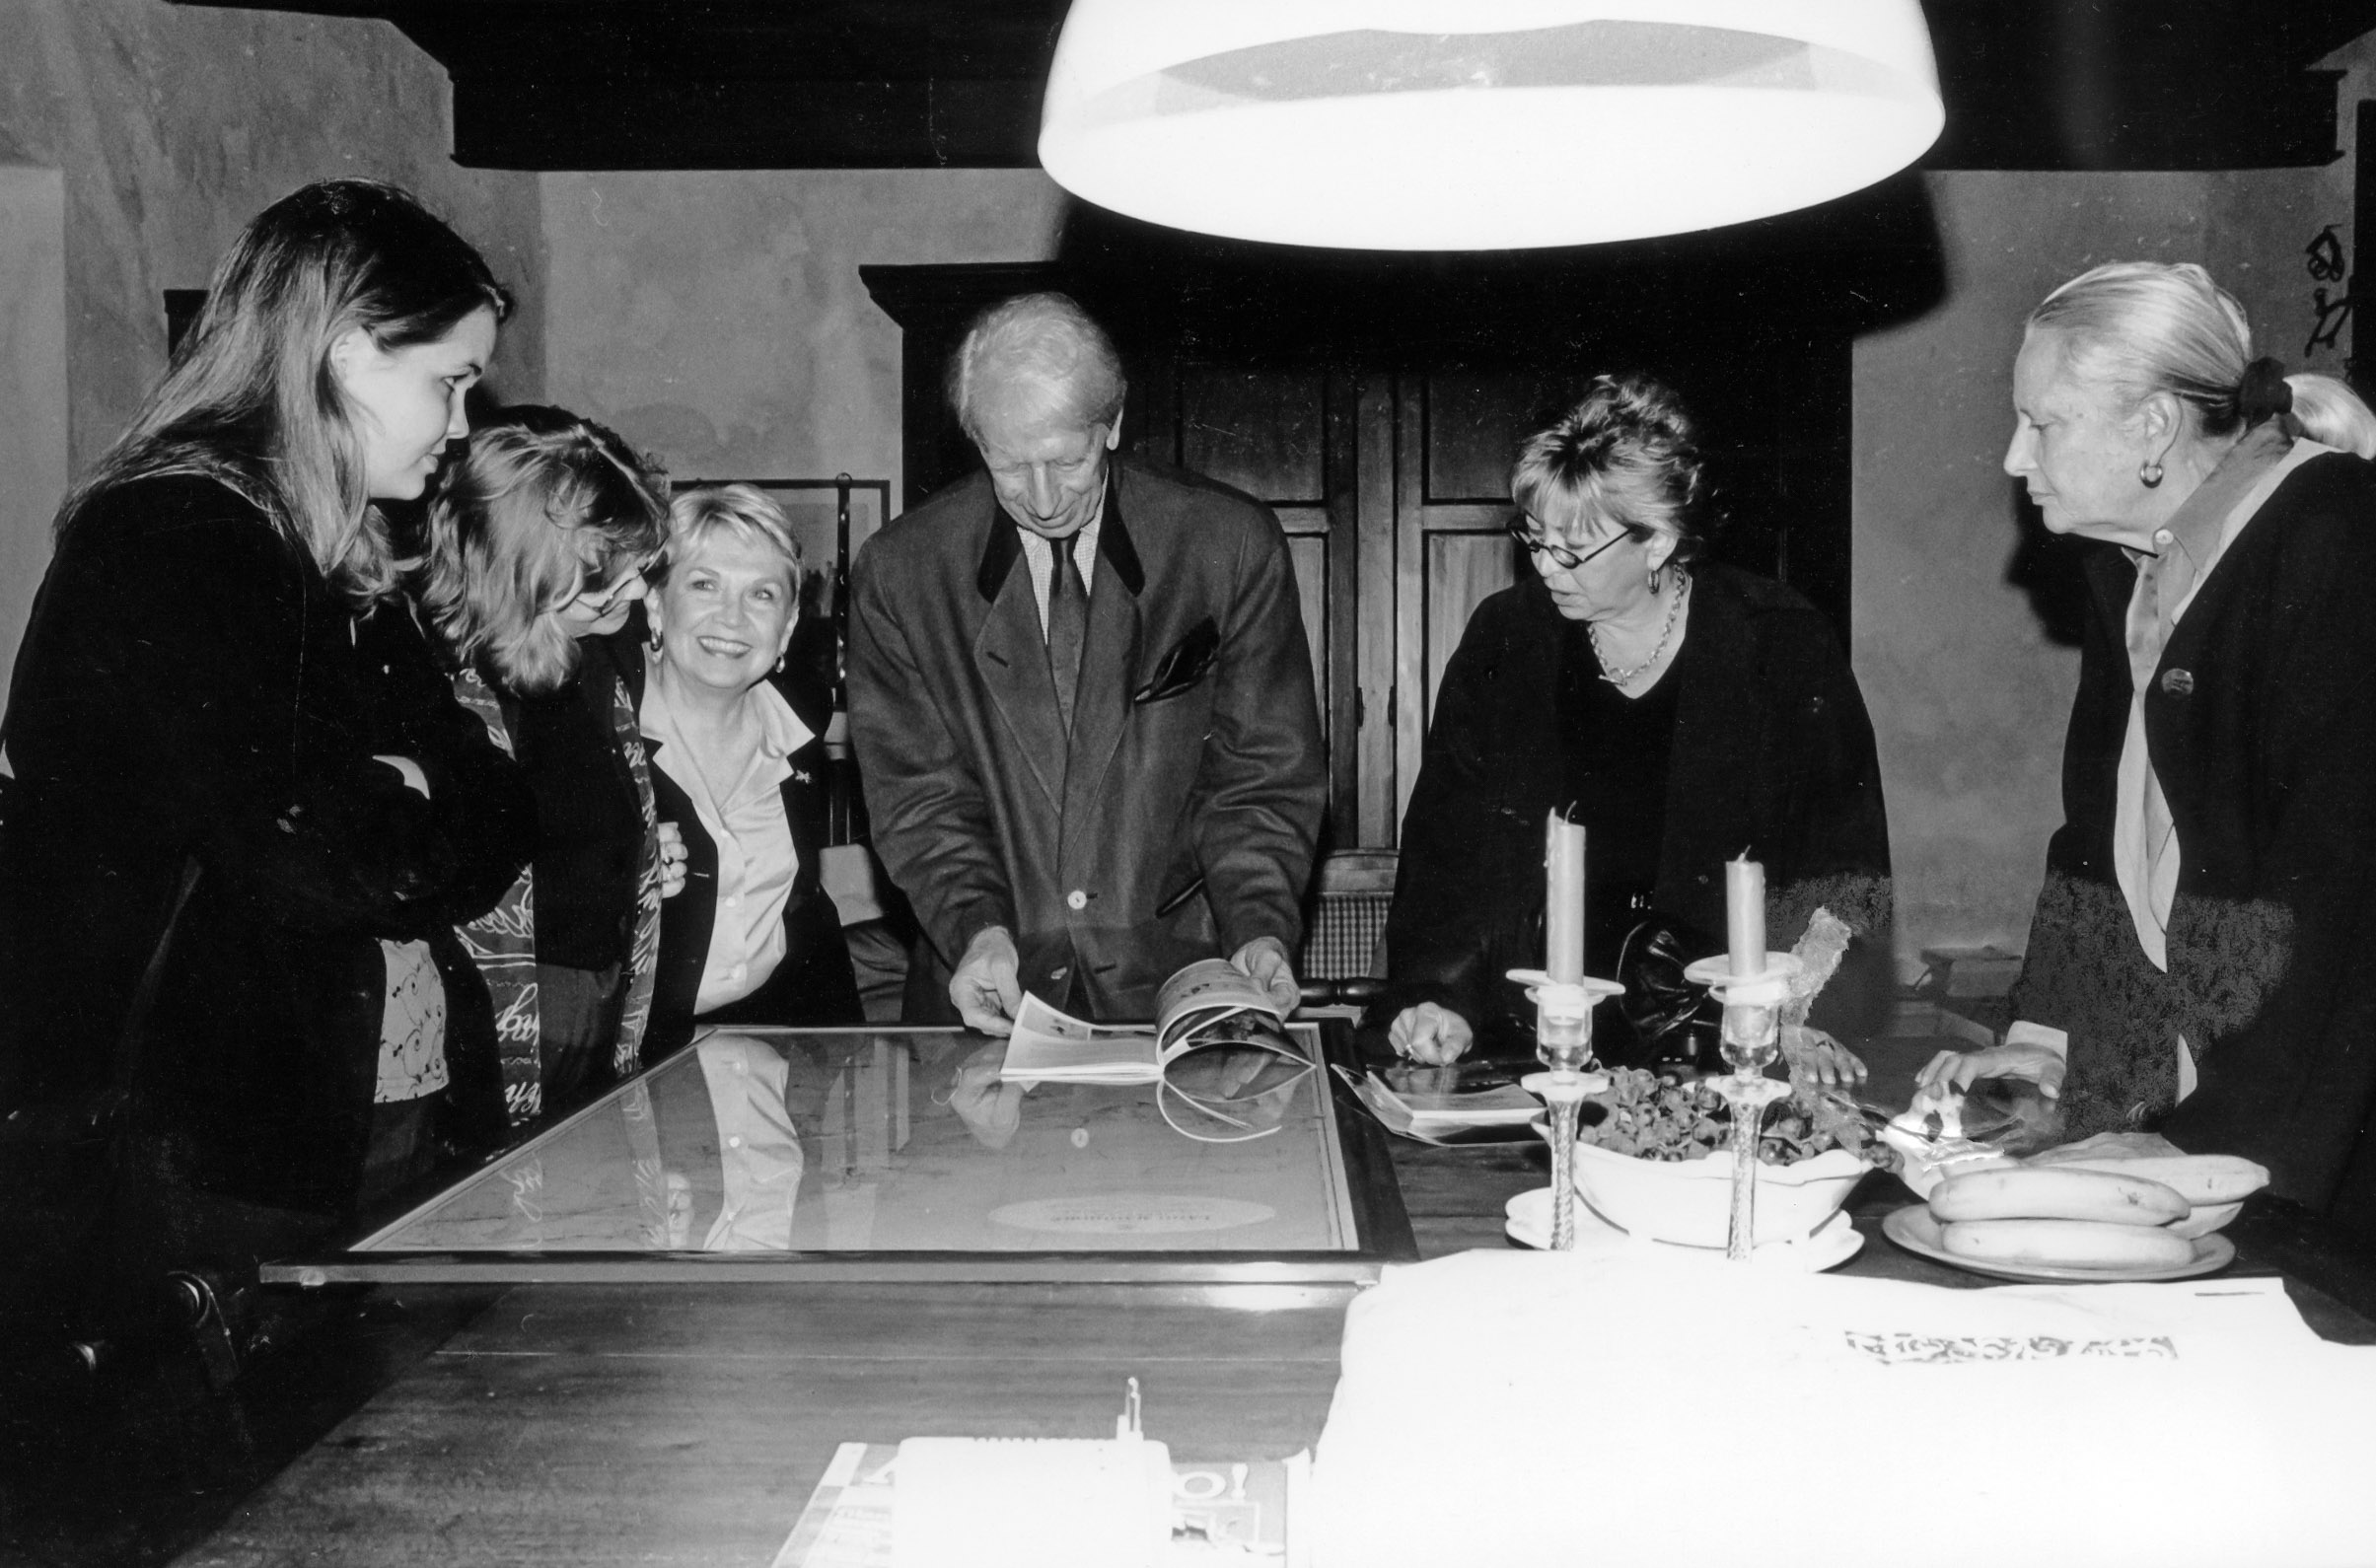
Leslee and I
During one particular class when she was using a hand mixer to prepare a Crème Chantilly for the finishing touch of a Soufflé au Chocolat, she lifted the mixer out of the bowl to make a point, forgetting to turn it off and splattering cream on the faces of all of us in the front two rows. Like Julia Child who famously dropped a chicken mid-show, nonchalantly picked it up and continued her lesson without missing a beat, neither did Leslee. Café Provencal, her groundbreaking restaurant, was opened several years later and is credited with bringing cosmopolitan European dining to the Middle West. (Leslee actually appeared on the Julia Child TV show in 1983 to demonstrate an oyster-on-the-half-shell preparation!)
Each of Leslee’s classes consisted of recipes for one complete meal – first course through dessert. I took two sessions of 6 complete French meals, so I accumulated about 72 recipes in all and used them for both regular family meals as well as for more formal entertaining. They have remained an integral part of my recipe repertoire. One of my favorite vegetable recipes is her versatile carrot dish below. Even my grandchildren love it. It was a side dish recipe from her Coq Au Vin menu.

© rob warner photography 2019
Carottes Glacees
(serves 6)One pound minus tops serves 3 or 4. One pound of raw carrots sliced or quartered makes about 3 ½ cups.
1 ½ pounds carrots, peeled and cut into 2 inch lengths or trimmed into large olive shapes
1 ½ – 2 cups good brown stock or canned beef bouillion
2 tablespoons sugar
5 tablespoons butter
1 teaspoon salt
dash pepper
(chopped parsley)Put carrots in saucepan. Add remainder of ingredients – carrots should be covered with stock – add water or more stock if necessary.
Bring to a boil and cook over medium heat until fork tender, about 30 minutes. Do not cover. Liquids should evaporate down to a thick glaze for the carrots. Toss carrots in the pan to coat.
Optional garnish of chopped parsley
Note: I often add a little tomato paste for enrichment – maybe 2 tablespoons
***************************************************
Shortly after my emersion in French cooking, my family moved to England where my then husband became managing director of an advertising agency. Moving to a new house in a new country brought many challenges and many new adventures – new people to meet, new cities and villages to be discovered and new foods to be tasted. I didn’t know it then, but it was another big step in my own personal evolution – one that would also profoundly influence my culinary journey.
But when I think back on the culinary influences that mark my early years – I think first of my father’s garden. What a deep effect that had on me – an abundance of fresh product right in my own backyard! Also impactful was what my mother and father actually did with all that produce. Nothing was wasted or discarded. All was either consumed at our kitchen table or rested pristinely in the “fruit cellar” waiting to be enjoyed later.
I also recall a certain kind of magic when I reflect on my experimentation with french-fry-making in my basement or cooking my first meal for my grandpa. All of these early cooking experiences gave me a wonderful sense of accomplishment – a true sense of empowerment.
So many people and so many experiences during this early period made a difference in my culinary journey. The taskmaster Chinese instructor Sarah Moy forced me to focus and chop and dice responsibly and to not be intimidated by new people and challenges. My mentor and friend Leslee Reis taught me so many new dishes; showed me how a wife and mother can still be those things, but also more – so much more. And more importantly, that it’s okay to make mistakes – that having a good time and a sense of humor in the kitchen is certainly just as necessary as good technique.
Not all the people I cooked with or learned from became celebrated chefs like Leslee or great home cooks like Mary but almost all of them remain active everyday cooks that simply enjoy food and recognize the role it plays in our lives. As the renowned chef, TV personality and cookbook author Jacques Pepin once said, “The table is the great equalizer.” Sitting down to the table with friends or family to eat – whether it’s a hot dog or a bowl or soup or a ten course Chinese meal – is a way of connecting. I have enjoyed being a part of all aspects of that connection: learning about food, cooking it and of course, eating it.
My culinary education continues. I hope you will join me in that journey.